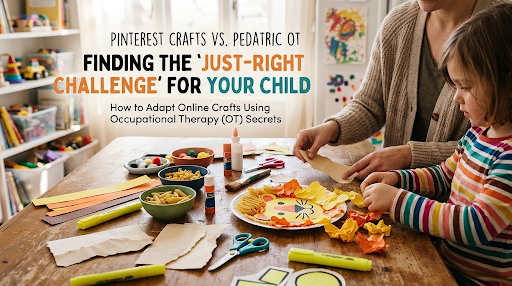
You find an adorable DIY craft on Pinterest or Instagram: painted pinecone animals, intricate paper mosaics, or hand-folded origami bookmarks. You gather the supplies, lay out newspaper across the kitchen table, and invite your child over. Ten minutes later, the scene looks very different. Maybe your child is in tears, there’s glitter all over the floor, or you end up finishing 90% of the project yourself.
Before you swear off kitchen crafts forever, here is an encouraging secret from pediatric occupational therapy: there is nothing wrong with your child’s enthusiasm or your parenting. The craft simply needs a few thoughtful tweaks! In OT, the magic isn't about forcing a child to fit a project, it’s about playfully adapting the project to fit your child.
In occupational therapy (OT), crafts are not just cute keepsakes; they are clinical therapeutic tools. Therapists use a foundational concept called the "Just-Right Challenge" to make activities meaningful, fun, and developmentally building. Here is how that framework works, and how you can easily adapt any craft you find online to fit your child’s skills.
What Is the "Just-Right Challenge"?
Coined in sensory integration and occupational therapy literature, the Just-Right Challenge is the sweet spot where an activity is:
Challenging enough to engage the brain, build new neural pathways, and build motor skills.
Achievable enough (sometimes with guidance or support) to promote confidence, motivation and opportunities to feel successful.
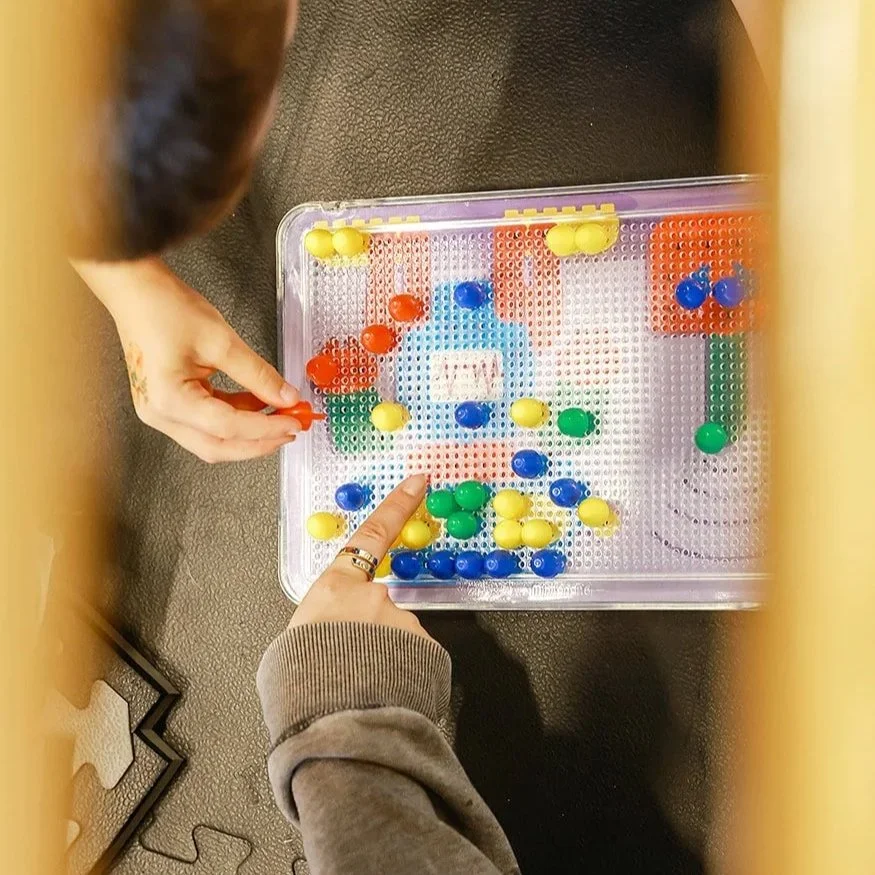
Think of it like putting together a jigsaw puzzle.
A 2-piece chunky puzzle offers zero sense of excitement or accomplishment for a preschooler. They fly through it once and push it aside out of boredom. On the flip side, dumping a 500-piece landscape puzzle across the rug is overwhelming and discouraging; the pieces will likely end up scattered under the couch before the edges are even sorted.
The just-right challenge is that sweet spot: a puzzle where they know how the big picture fits together, but still need to rotate, flip, and problem-solve a few tricky corners. It invites real focus, requires effort, and delivers that wonderful rush of pride when the final piece snaps into place.
Four Easy Strategies for Adapting Any Craft
When an online craft feels too overwhelming or too simplistic, tweak one (or more) of these four components:
1. The Motor Demand (Fine Motor & Grasp)
Online crafts frequently call for tiny seed beads, precise scissor work, or delicate liquid glue control.
Grade Down:
Swap liquid glue bottles (which require sustained grip strength and modulation) for glue sticks, peel-and-stick dots, or contact paper.
Swap small beads for penne pasta, Cheerios, or pony beads.
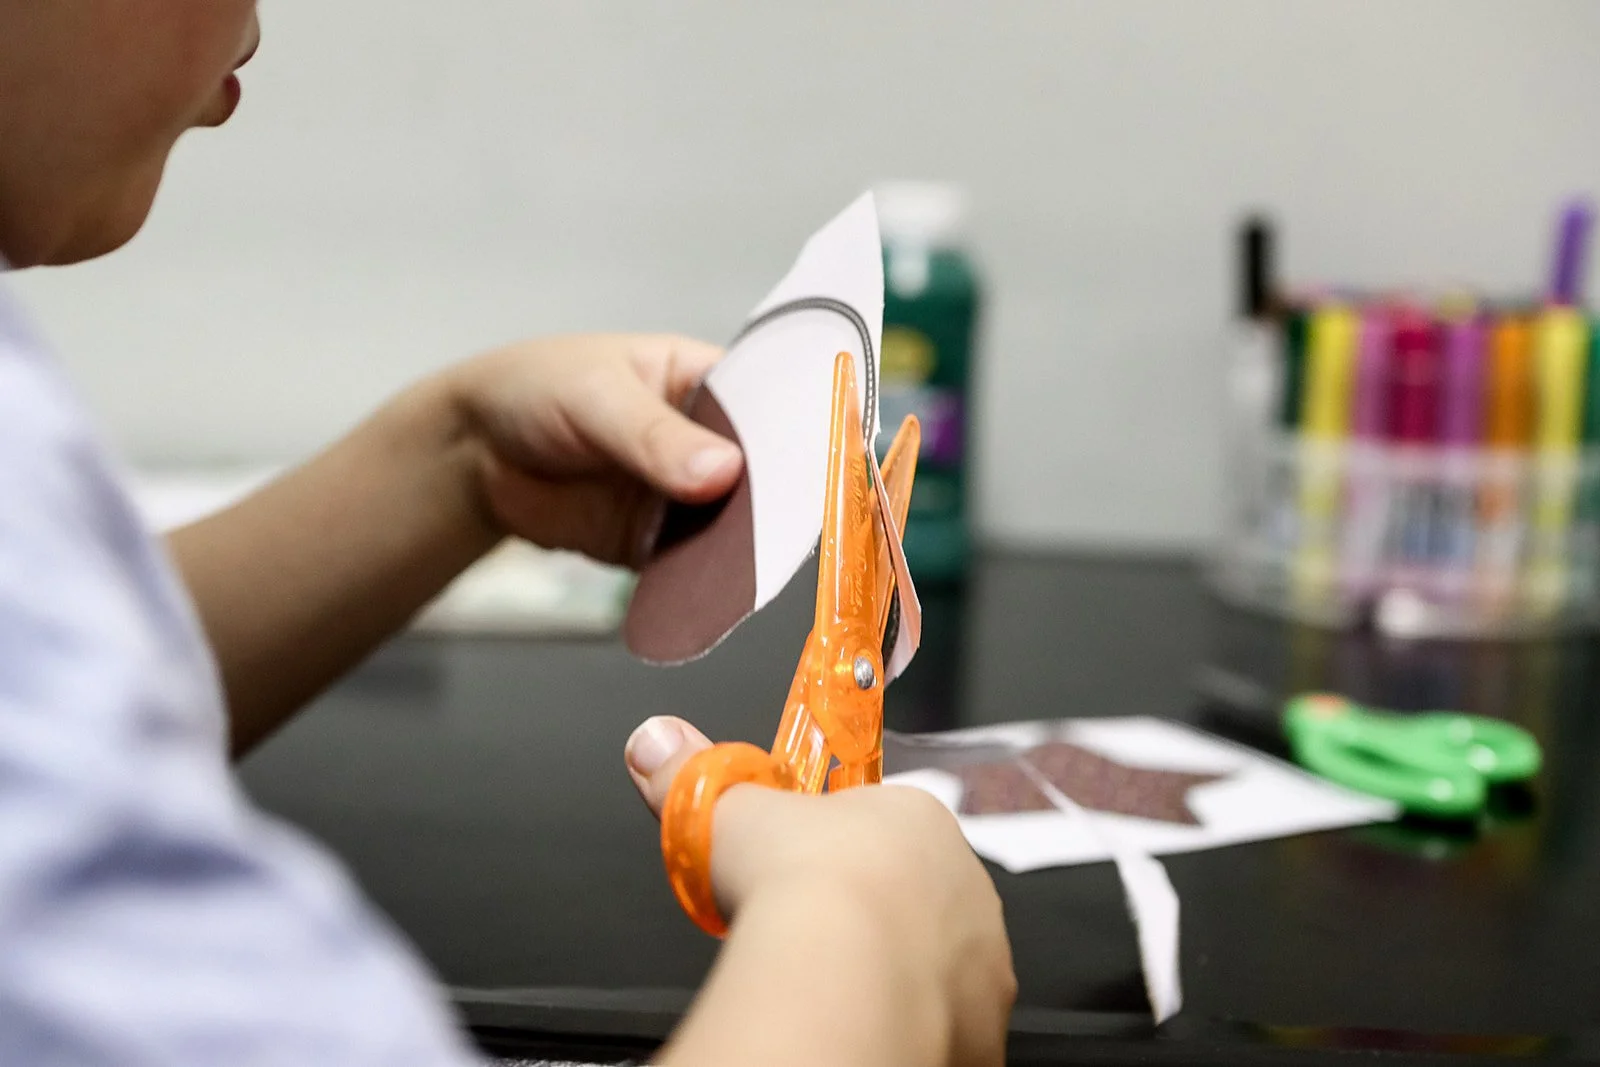
Pre-cut intricate shapes yourself and leave simple straight cuts for your child, or use spring-loaded loop scissors.
Grade Up:
Add kid-safe tweezers or tongs to pick up pom-poms or sequins.
Have your child cut curved lines or multi-angle patterns.
2. The Visual & Cognitive Load
Step-by-step videos make crafts look seamless, but following 12 sequential instructions requires working memory and executive functioning that many children are still developing.
Grade Down:
Break the project into single-step stations. Instead of putting out all supplies, hand them one piece at a time: "First, let's stick the three red circles."
Provide high-contrast visual cues (e.g., outline the cutting boundary with a thick black or bright highlighter line).
Grade Up:
Draw a 3-step visual sequence on a whiteboard and let them execute the steps independently.
3. Sensory Input
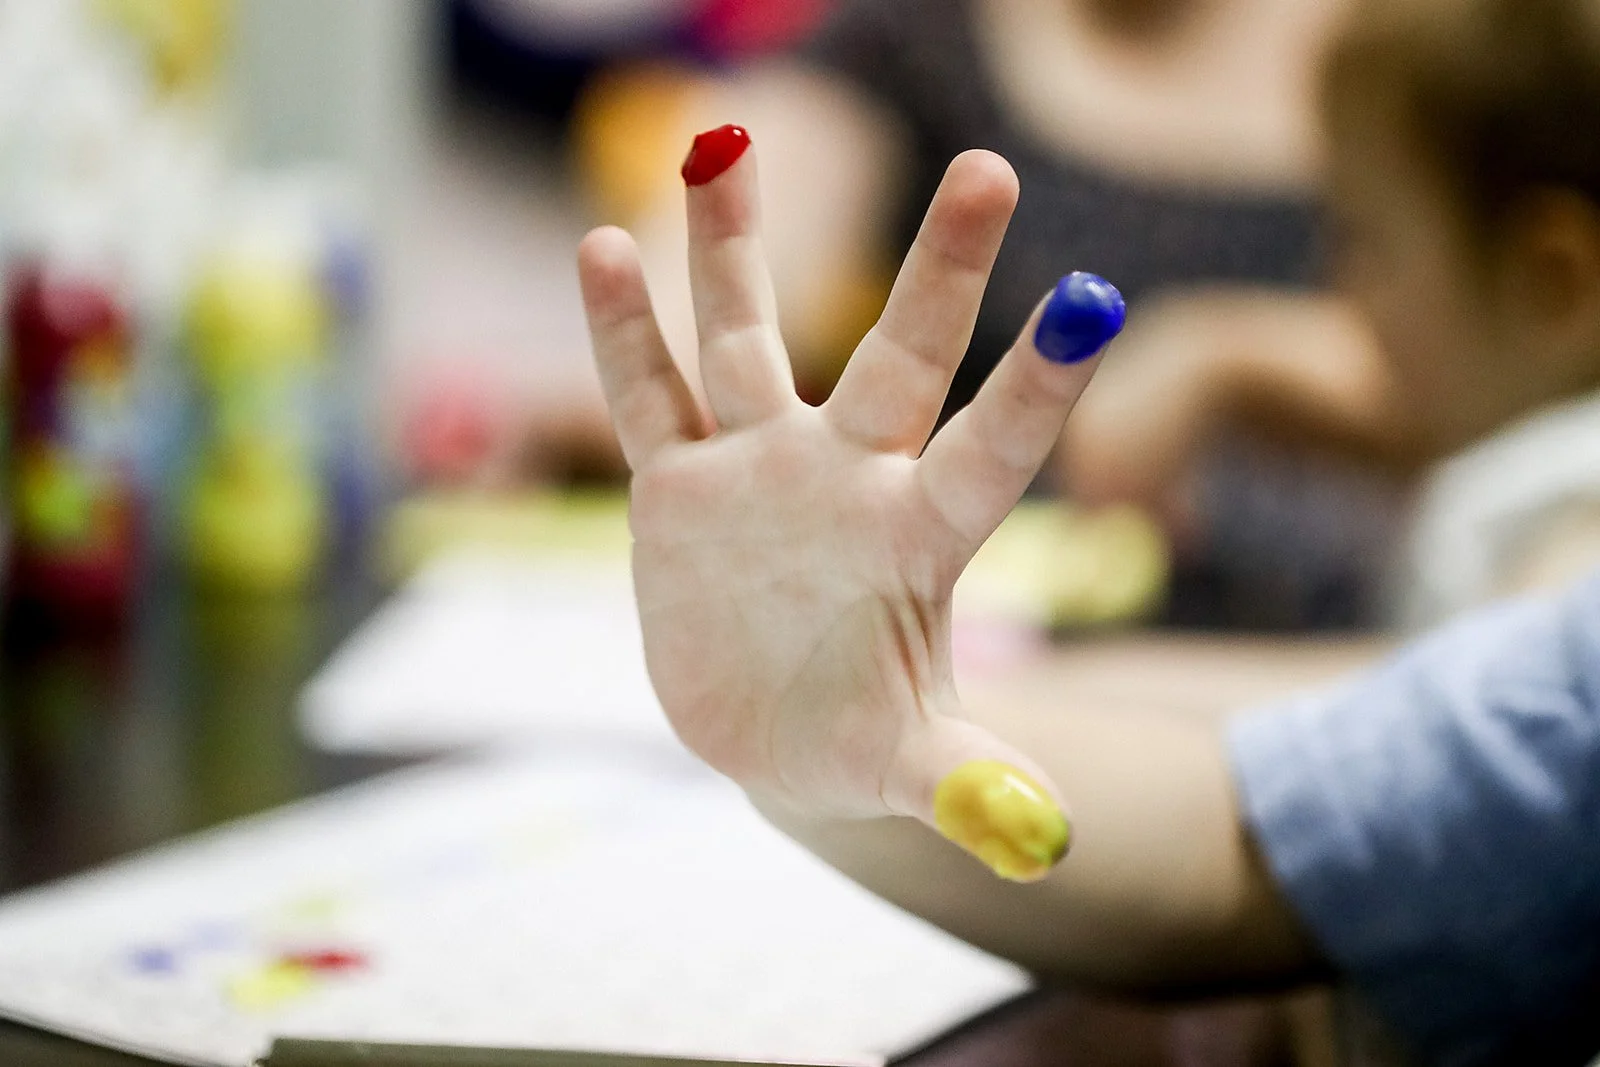
The texture of papier-mâché, wet glue on fingertips, or the sound of crinkling cellophane can affect sensory defensiveness or dysregulation for sensory-sensitive kids.
Grade Down:
Apply glue with a paintbrush or foam roller instead of fingers.
Put messy paints inside a sealed Ziploc bag taped to the table for "mess-free" sensory finger painting.
Keep a damp washcloth right beside the workspace so they can wipe sticky hands immediately.
Grade Up:
Incorporate rich textures intentionally: tearing tissue paper, kneading textured playdough, or finger-painting directly onto cardstock.
4. Posture & Physical Stability
If a child has to spend all their energy just keeping their core upright on an adult dining chair with feet dangling, it can decrease their access to fine motor control in their hands.
Grade Down:
Ensure their feet are supported flat (use a box or stool under their feet).
Move the craft to the floor where they can lie on their belly (prone position), which strengthens shoulder and neck extensors while stabilizing the arms.
Tape paper to a vertical surface (wall or easel) to encourage wrist extension and shoulder stability.
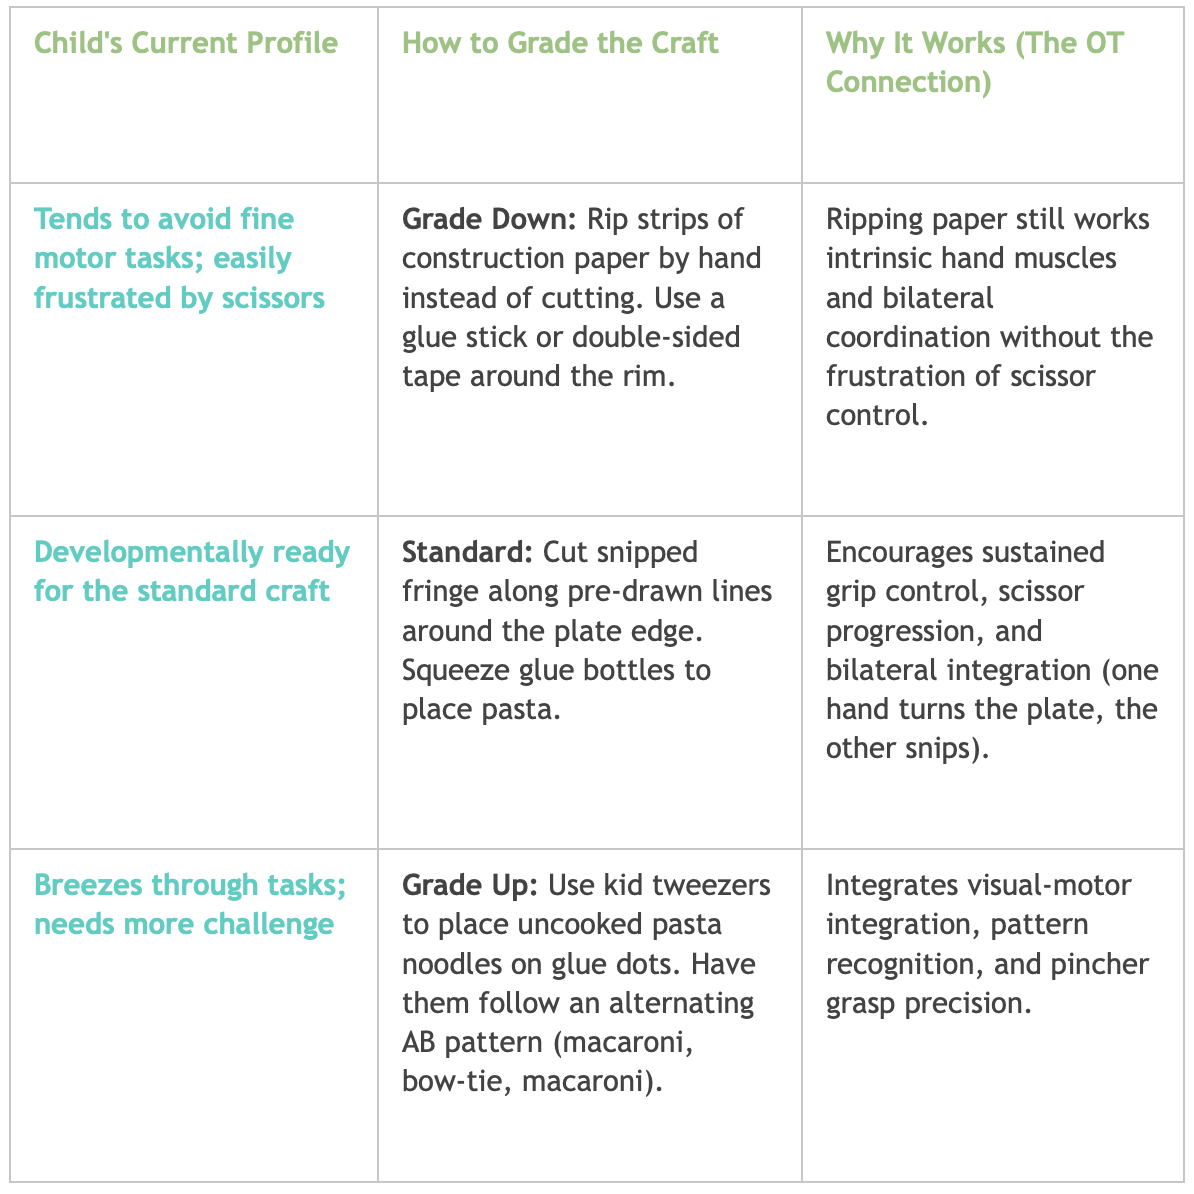
Real-World Example: Adapting the "Paper Plate Lion"
A classic craft that pops up in every feed: a paper plate painted yellow, with pasta or snipped paper glued around the rim for the mane, and a drawn face.
The Ultimate Rule: Process Over Product
Whenever you find yourself feeling the urge to "fix" an uneven ear or straighten a crooked eye, take a deep breath and pause.
In occupational therapy, the outcome is not the paper lion. The outcome is the child's autonomy, motor confidence, and emotional regulation.
If their lion ends up with one eye in the middle of its forehead and three lopsided pasta whiskers, but they beamed with pride when they stuck them on, you hit the just-right challenge perfectly.
Print or Save this Parent Handout for a quick reference guide when crafting.